Taking winter cuttings
It’s the perfect time for taking winter cuttings, meaning more plants for free - and who doesn’t like that? Taking cuttings can be really fun and a great way to keep your green fingers active over the winter months. Hardwood cuttings are taken from mid-autumn through to late winter, so you have plenty of time to get some into pots ready to settle in before root growth in spring. If you are wondering how to take hardwood cuttings during this season, read the below advice.
- When to take cuttings
- What can you take cuttings from
- How to take cuttings
- What to do with your cuttings next
When exactly should I start taking winter cuttings?
You now know that winter cuttings are taken from mid-autumn to late winter, but there will be periods within those months you should avoid. If the garden is particularly wet and frozen, avoid taking cuttings until there is a dryer day. They can be taken any time but generally may root better just after the leaves have fallen or right before buds start to open.
Taking winter cuttings from your plants
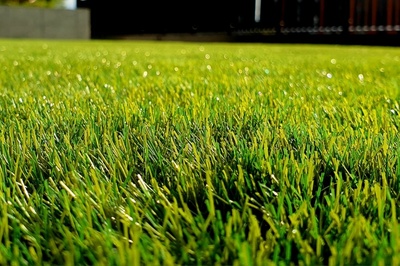
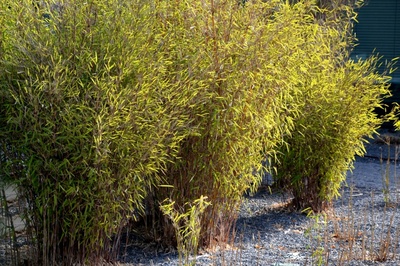
If you wonder what you can take cuttings from at this time of year, there are many to choose from. Most deciduous shrubs are ideal for taking winter cuttings, such as dogwood, flowering currants, roses, honeysuckle, gooseberries and figs. You can also take cuttings from trees such as willow and poplar. You can take cuttings from a few evergreens, including holly and skimmia.
How to start taking winter cuttings for success
Have a good look at your plats and take cuttings with a sharp snip. They should be healthy and current years growth. Remove the soft tip and cut it into sections, so each is no more than 30cm long. The cut should be above a bud at the top, sloping away from the bud and straight at the bottom. You can dip the base into a rooting hormone or not (results vary with either).
What is next when taking winter cuttings
- When you have your cuttings ready, they can be placed into a prepared trench outside.
- The soil needs to be well-drained with well-rotted organic matter dug in.
- Make sure two-thirds of the cuttings are below the ground, and it can be helpful to layer some sand at the bottom of the trench.
- Please make sure the trench is in a place where the cuttings can stay until the following autumn when you can pot them on and don’t allow them to dry out.
- If you only have a few cuttings, they can also be grown in containers with a well-drained, gritty compost in a sheltered place.
For containers, grit, compost, cutting tools and accessories - visit us in store.